

Mountain Biking with an Ostomy – What to Know Before You Hit the Trail
The arrival of spring has people all over Canada pulling their bikes out of storage in search of open trails. For many of you, those two-wheeled machines are of the more adventurous variety – mountain bikes. Mountain biking has gained in popularity, and it is a very big deal in the country, especially around InnerGood’s home base of operations in Greater Vancouver BC. If you have a passion for this activity, and you’re a new ostomate, you likely have some concerns.
As a lifestyle site for people living with an ostomy, we receive inquiries all of the time regarding what is and isn’t possible when it comes to living with an ostomy. And while the answer is almost always “nothing is impossible” it often comes with a set of tips to help inquiring minds accomplish their goals. Today, we’re here to help you adjust your gears before you head for the hills, trails, and/or rugged terrain.
5 Tips to Mountain Biking with a Stoma
1. Avoid Leaks and Discomfort by Testing Your Ostomy Bag System First
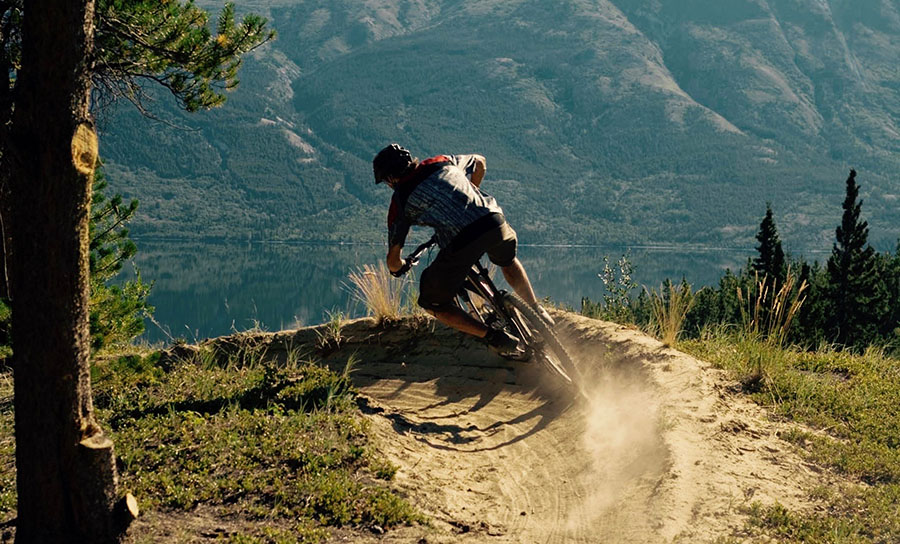
You’re in a unique position when crouched over while riding a mountain bike. Your appliance will be put to task more so than with other outdoor activities and exercises. The risk for shifting and leakage is increased. What may work for you during your day to day or even in the gym may not work as effectively on a ride. Prepare by choosing a stoma bag most appropriate to you. Follow these tips before which break down the needs for those who have received a colostomy, ileostomy, or urostomy.
Test your appliance while partaking in activities that put you in a crouched position. Try out a rowing machine and stationary bike in the gym to see if any adjustments are needed. You may find that you need to use a stoma guard, belt, and/or surgical tape to keep your pouch close to the skin and/or as a protective barrier under the wafer. A liquid skin barrier will also help protect your skin, providing a flexible solution that adheres to your form while keeping leaks at bay.
2. Stay Hydrated
Strenuous activities such as mountain biking dehydrate the body. Ostomates are especially susceptible to dehydration. The position of your abdomen (while riding) and the fact that it takes more time for water to move from the stomach and into the digestive system further increases risk of cramping. Your great time out on the trail can turn into an uncomfortable and unhealthy one. Thus, you must be especially diligent when it comes to your hydration needs. Like avid runners, you will need to invest in a pack with a hydration system and drink frequently while riding, more than you did before you received your stoma.
3. Pack to Account for Nutritional Deficiencies on the Trail
Bicycling Magazine names 5 vitamins and minerals that riders need more of. This list of nutritional deficiencies common to ostomy patients mirrors the guide in many ways. In addition, a deficiency in folate and Vitamin B12 (very common to ostomates) will impair performance while riding. If you plan on maintaining your skill-set and endurance out on the trail, then you will need to adjust your eating habits accordingly. However, an ostomy-conscious diet alone won’t cut it. Mountain biking excursions can take you into the outdoors for hours. You will need to pack nutritional supplements to account for certain deficiencies so that you don’t run out of steam before your intended return. Consult with your physician regarding Active B-Complex supplementation and pack along the recommended dosage upon approval. Also add some meal replacement bars and an all-in-one nutritional shake in a shaker-cup so you can whip up a nutritious and satisfying MRP beverage at the mid-point or immediate conclusion of your ride. View a more complete accounting of ostomy-focused supplements here.
4. Ease into It by Beginning Again
It doesn’t matter if you were tackling Whistler BC’s Garbanzo mountain bike park like a mad-person before your stoma procedure. You’ve got to put your pride aside and start anew. While your mind, soul, and expertise may be in tact, your body is not ready for such a return, yet. Start simple. Take your mountain bike out on beginner trails to test out your appliance and overall feel. Your core strength will slowly but surely return, and when it does, you can move up to intermediate and more advanced trails.
5. Map Out Trails Beforehand
Knowing the ins-and-outs of any trail you plan to ride through in the first year after your post-stoma return to mountain biking will be instrumental to your health, safety, and success. Don’t go off-the-grid until you’re ready. That means you need to map out all trails in your region, sticking to ones with clean on-site restroom facilities (for changing/draining your pouch), and close enough to civilization should you need medical attention after an unanticipated complication with your stoma. There is a map/guide for every region. Simply perform an online search for mountain bike trail maps near you and chart out trails that offer facilities and proximity to medical centers. It is also important for you to partner up with someone.
If you don’t know any fellow mountain biking enthusiasts, there are online communities that organize trail rides in your area. Once you’ve worked out the kinks and have become accustomed to mountain biking with an ostomy, you can take your off-road adventures wherever and whenever you deem fit.
Happy Trails!


